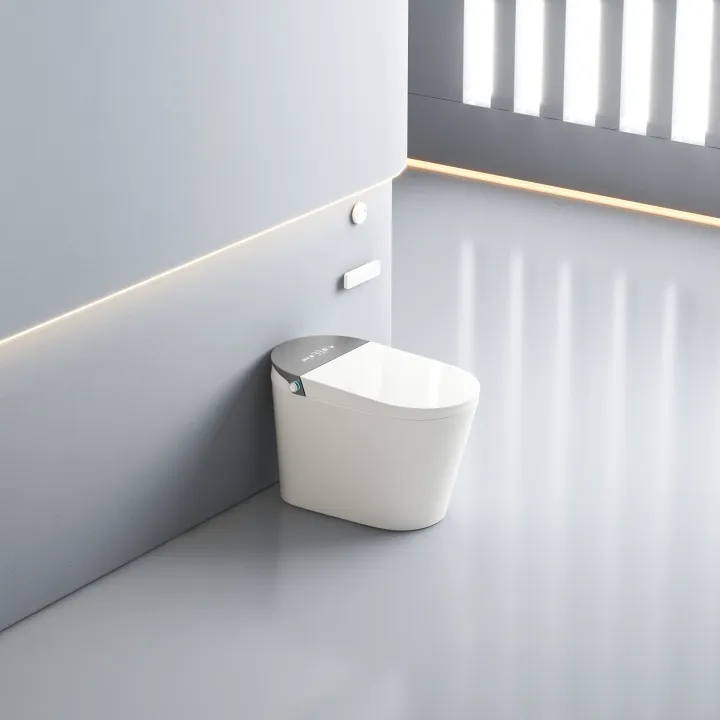
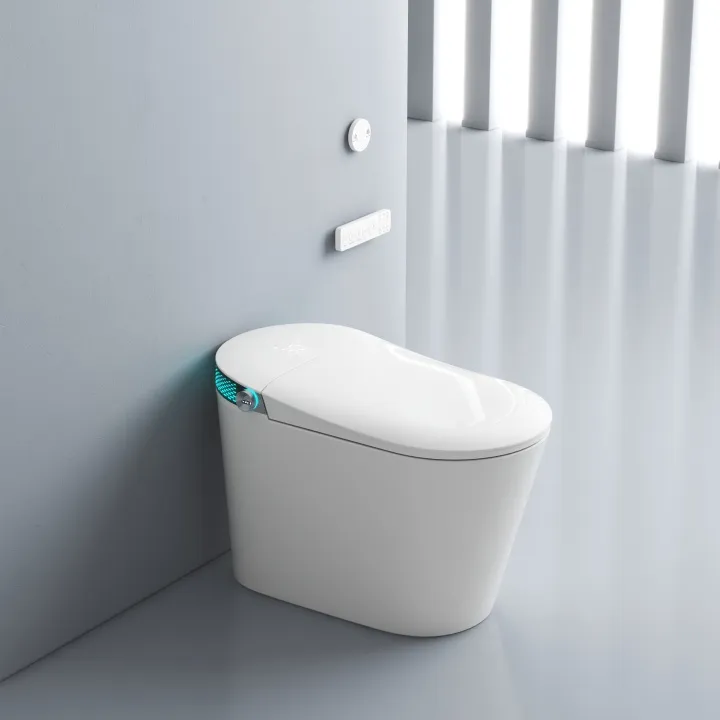
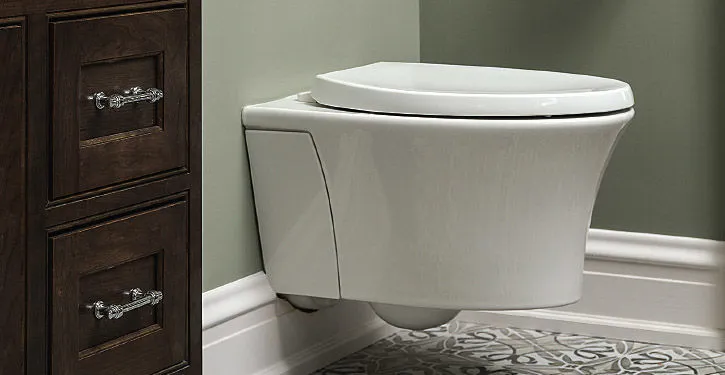
In recent years, the fashion design and simple style of a wall hung toilet has become popular in bathroom decoration. Different from traditional floor-standing toilets, a wall hung toilet is installed on the wall, which is not only convenient for floor cleaning but also saves space, making your bathroom look more spacious. Today, we will introduce in detail the installation steps and precautions of the wall hung toilet to help you complete the installation smoothly.
Step 1: Prepare tools and materials
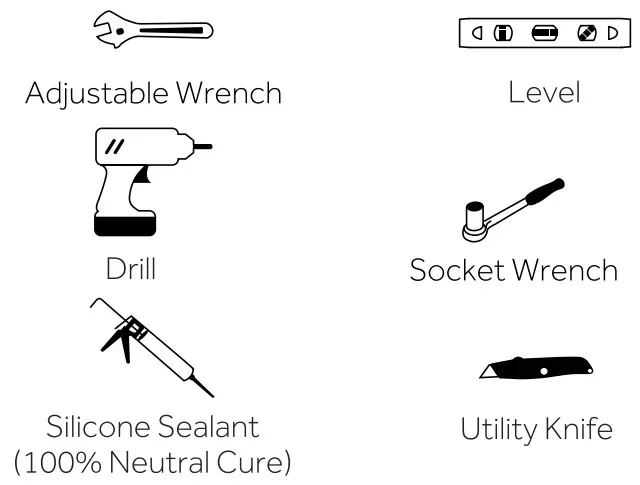
Before the work starts, prepare the following tools and materials:
Wall hung toilet
Wall bracket, support bracket
Plumbing accessories
Electric drill, impact drill bit
Plumbing tools
Level ruler
Screwdriver
Tightening bolts
Step 2: Choose a suitable location
First, one should choose a place on the wall for the location of the wall-mounted toilet. The wall has to be substantial enough to take the weight of the toilet—for example, it could be appropriate in areas of brick or concrete walls. Additionally, where exactly to lay the drain pipe and water inlet pipe must be determined well in advance to avoid inconveniences when installation is needed.
Step 3: Fixing the Wall Bracket
The key to this is the supporting bracket of the wall-mounted toilet; humans should choose a suitable bracket according to the design size of the toilet. Make sure the bracket is level by using a level; screw it firmly into the wall. Normally it is between 40-45 cm and can be adjusted according to the use habits of family members.
Step 4: Installation of water pipes and drain pipes
While connecting the water pipes, at each joint, make sure that there is no leak. Connect the hot and cold water pipes according to the inlet of the wall-mounted toilet and test whether they are working properly. The drain pipe also needs to be correctly installed to avoid excessive bends so that the water flows smoothly.
Step 5: Install the toilet
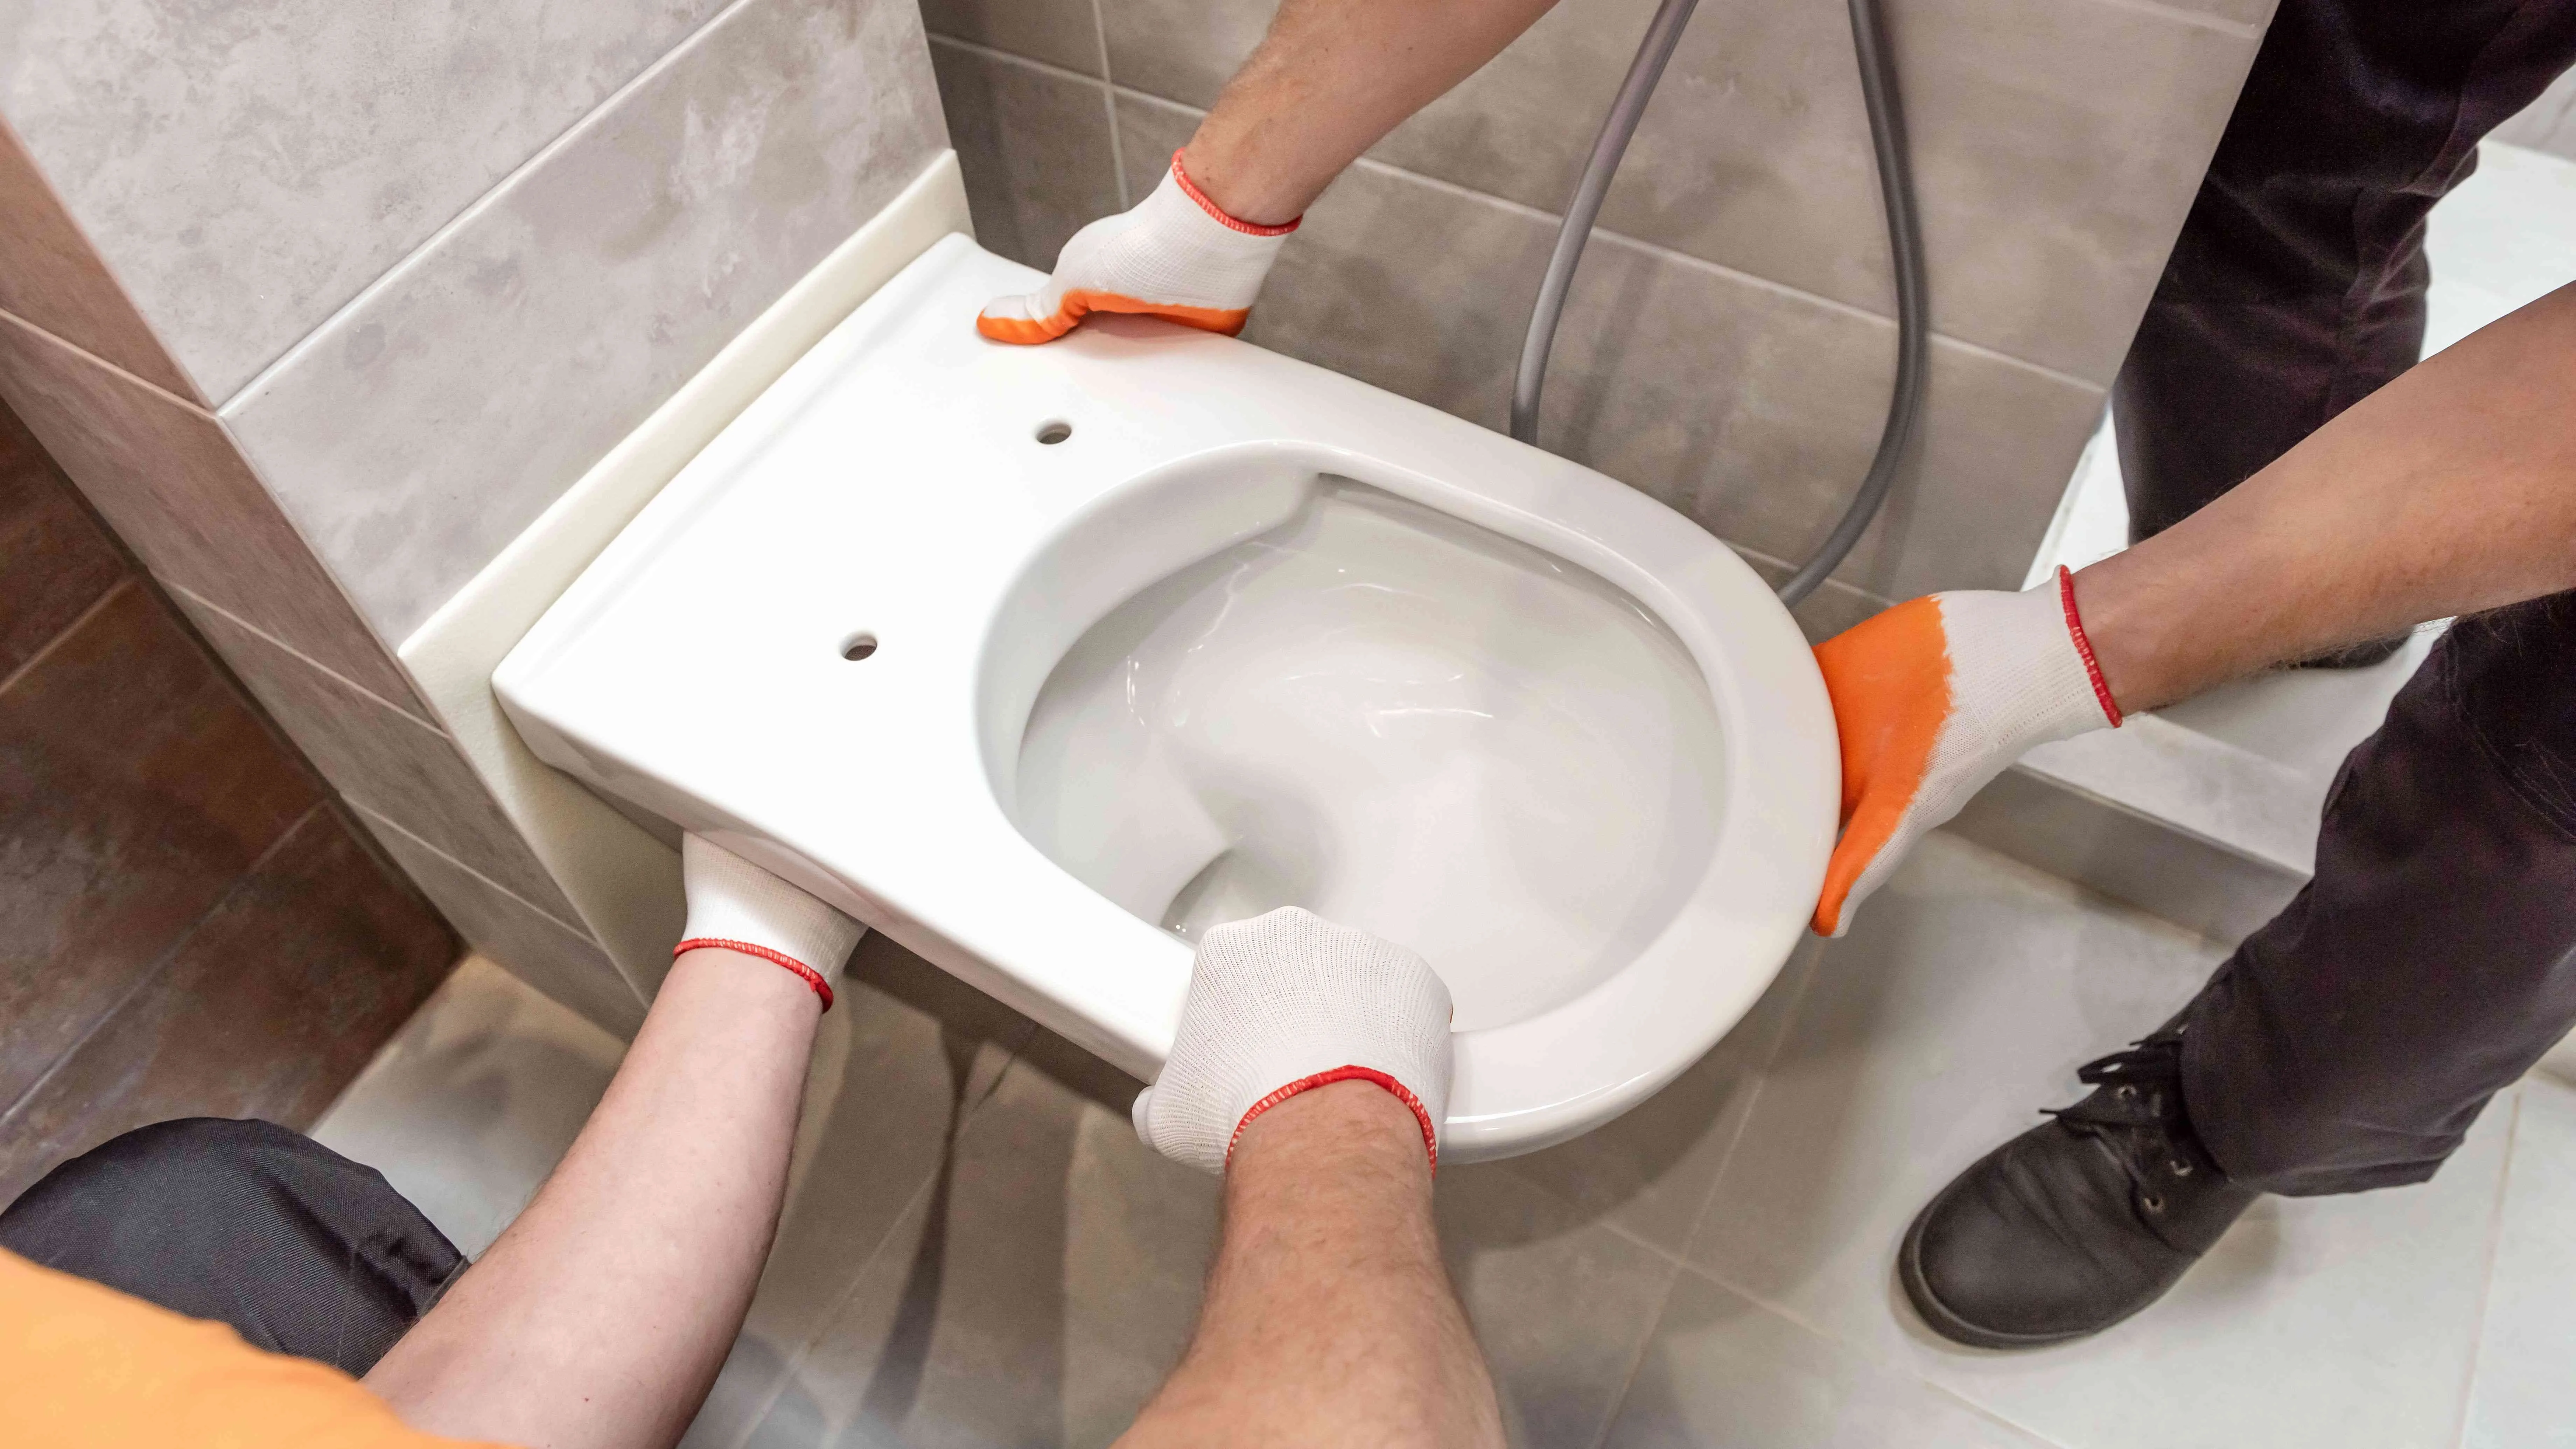
Align the toilet with the bracket, and place it gently to avoid glaze damage. The toilet should be fixed to the bracket by bolts. Check if the toilet is level again to ensure an accurate installation position. Use a level for the last time to check to ensure that the toilet will be stable and comfortable for use.
Step 6: Check and test the Wall Hung Toilet
After installation, open the water source and check all the places for leakage. Flush several times to ensure the flow is smooth, and check if the toilet is stable without abnormal sounds. Finally, do a thorough check to make sure that every step is not skipped.
Notes
In choosing the wall-mounted toilet bracket, great importance needs to be attached to a reliable load-bearing and reliability. Strength of Wall: In case of walls that are not strong enough, reinforcement or usage of professional installation tools for putting the brackets on the wall should be carried out. Design of Drainage System: It has to ensure that drainage pipes are reasonably designed to prevent more bending to drain well.
Conclusion
The installation of a wall-hung toilet can make your bathroom even more up-to-date and, at the same time, bigger and neater. In contrast, the installation requires skills and patience to complete the work using one’s personal efforts. One has to select a good brand for the case of easily obtaining qualitative wall-hung toilets and other products on the occasion of bathroom installation.
In this sense, we highly recommend Bathmate. As a first-class brand in bathroom equipment, not only do we have all kinds of innovative, quality bathroom products, but we also have customized wholesale service according to your needs. From wall-hung toilets to other equipment in the bathroom, Bathmate has always focused on excellent product quality and considerate after-sales service to assist you in making an ideal space for your bathroom.
Partner with BATHMATE !

Rajar Bari , talthala road turag , Dhaka.(warehouse address)